fbpx

How to use a dog training collar

Share on facebook
Facebook
Share on google
Google+
Share on twitter
Twitter
Share on linkedin
LinkedIn
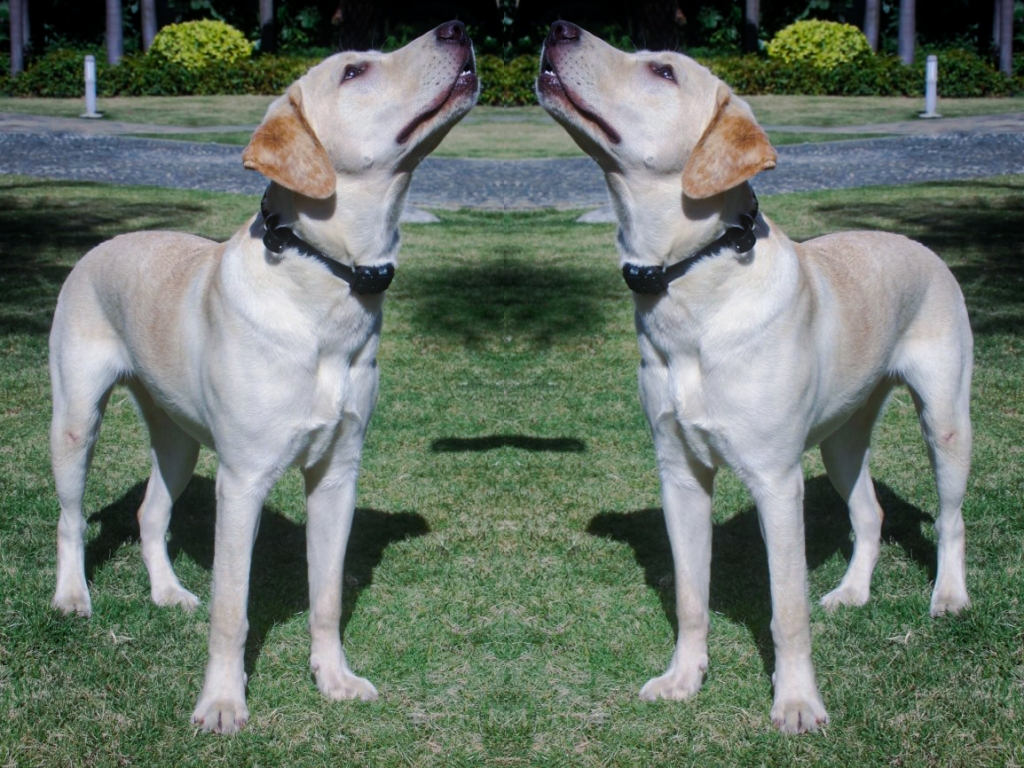
There are lots of types of dog training collars available to buy all of which are of help in various situations. In this posting, I will concentrate on how exactly to use an electric collar. Sometimes called shock collars, e-collars emit an electric pulse to your dog’s neck through two small prongs on the collar. This electric stimulation is triggered by a handy remote control unit which can be set to a variety of levels according to your dog’s temperament and sensitivity level.

HOW TO USE


Note: Please charge before using the product!
1.Charge the remote transmitter:
1) Connect the charger cable to the charging port.
2) Plug the charger into a standard outlet.
3)The icon of the battery will flash.
4) Charge the transmitter for about two hours for the first charge or until the icon of the battery stops flashing.
 
2.To turn the Transmitter on
1) Press any button to active the Transmitter. The backlight on.
2) The backlight will stay for about 5 seconds. if no operation then,      backlight off.
 3) The LCD display will stay for about 50 seconds. if no operation then, the LCD display shuts off.
 
3.Charge the collar receiver:
1) Connect the charger cable to the DC-5V port.
2) Plug the charger into a standard wall outlet.
3) The red light will flash on the receiver
  (If  not or green light, please plug the charger again).
  4) Charge the receiver for about two hours for the first charge  or     
      until the light indicates charging complete.
 
4.To turn the Receiver Collar on
Press the power button once, the blue light will flash
5.To turn the Receiver Collar off.
Press the On/Off Button until the blue light is gone, it means the receiver is turned off.
 
6.Connect transmitter and receiver
1) With the Receiver Collar off your pet, turn on the receiver collar.
2) Press the power button of the receiver once again, the red light will always on.
 3) Press the TONE, VIBRA or Static Stimulation(any of them) on remote, the blue light on the receiver will flash, it indicates pairing is completed.
4) Press the TONE button, the receiver receives the command and makes a sound.
5) If the pairing were not successful, please repeat the 1-3 steps.
6) To match the second receiver, press the “A B” button and  
      select for the second receiver and follow the same procedure.
 
  Two Dog System
   NOTE: If you wish to add another Receiver Collar to the training  system, extra Receiver Collars are available where you bought
your unit.
 
7.How to use the Test Light
1) Turn the Receiver Collar on.
2) Hold the Test Light Contacts to the Contact Points.
3) Press the SHOCK Button on the Remote Transmitter.
4) The Test Light will flash.
   Note: At higher Shock Levels, the Test Light will flash brighter.
5) Turn the Receiver Collar off.
 
   Save the Test Light for future testing.
   Note: If the Test Light does not flash, recharge the Receiver and re-test.